Sewing
This is the hardest section to explain. Before we get into the actual sewing we need to prepare the ribbons/tape. The tape acts as ribbing that we will be sewing around. It will help to secure the paper block to the cover and reenforce the spine. Yay!
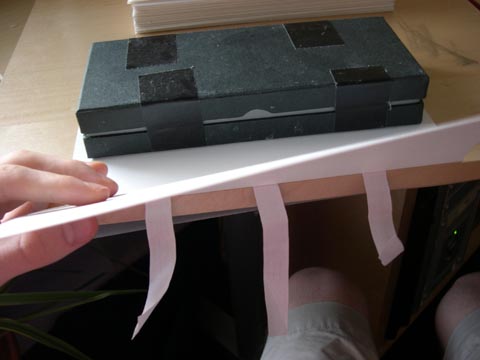
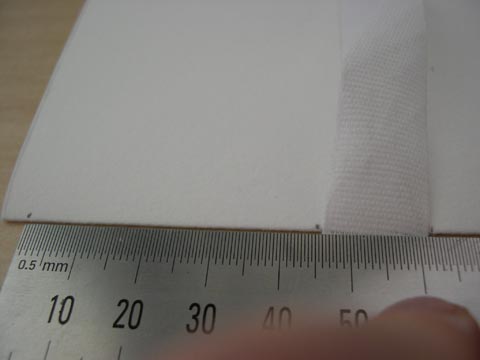
First, find an edge of a table or preferably a slab of wood, the advantage of this is portability. Second, cut 3 pieces of ribbon (if you can't find this kind of tape, I sometimes just use offcuts of buckram in light colours). The ribbon should wrap around the spine with excess on either side. If your unsure use more than you need.
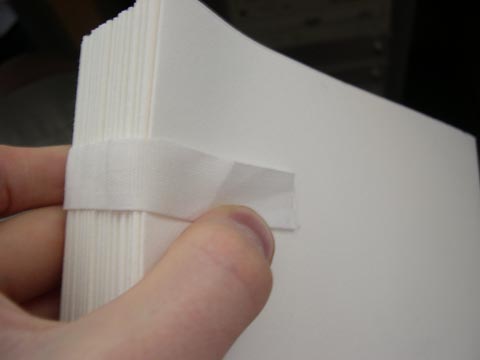
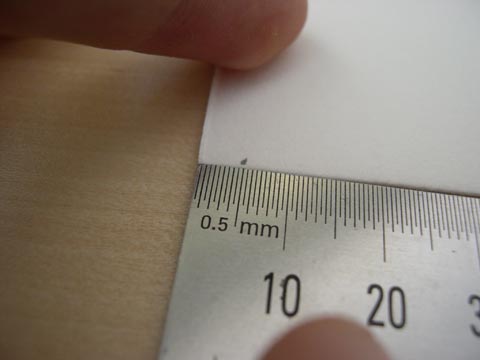
The next step is to measure out where the ribbons will be positioned. Try to keep an equal distance between them. Keep in mind that you can space the ribbons out by eye, but if you're a perfectionist like me you'll probably want to measure. If you position them badly, it will be visible because the they determine the gaps in the sewing. This might not be such a problem if your using white thread but in this book I used red.
You can also, depending on the shape of the book, use more or less than 3 tapes, usually two is fine but I wanted this book to be strong and durable, adding to the quality of the book.
There will be 2 holes quite close to the head and tail of the book, to keep it tight.
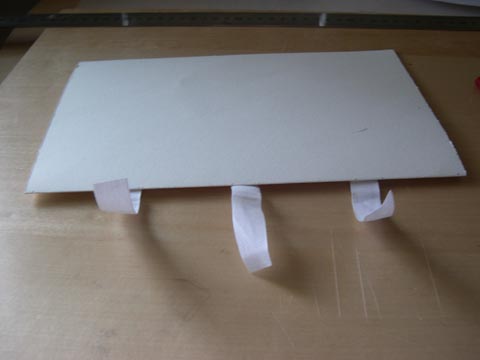
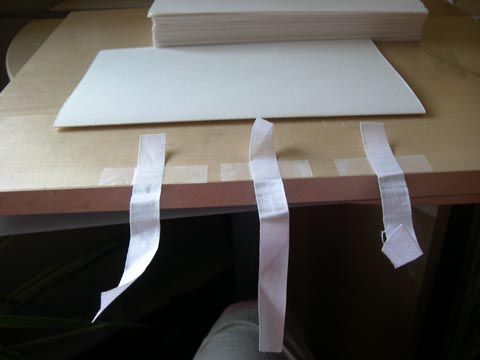
Ok so now sticky tape the ribbon to the edge of the desk, wood, whatever.
Then put the section over it where it should be (if you've measured the positions)
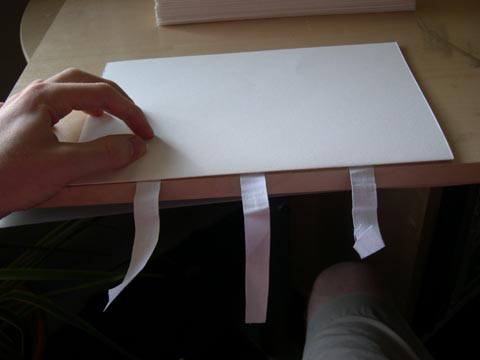
Hold the section in place and open it while placing your compact weight on the back page to keep it steady. We're now ready to start sewing this bad boy